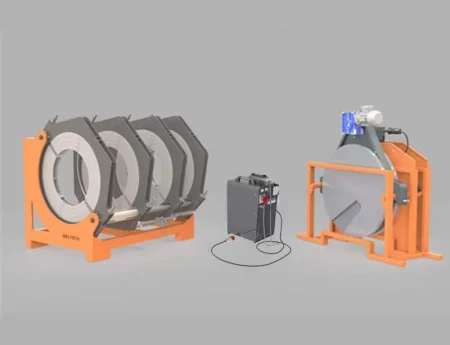
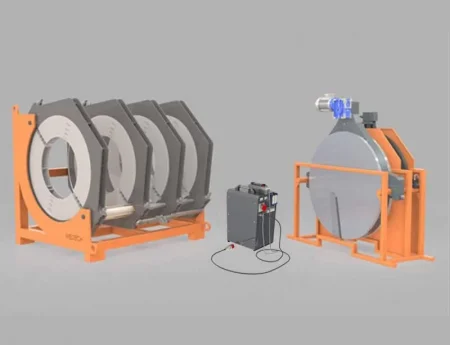
Butt Fusion Welding Machines & CNC Butt Welding Machines for UAE, Oman, Saudi Arabia & Bahrain
As a leading supplier of Butt Fusion Welding Machines and CNC Butt Welding Machines in the UAE, Oman, Saudi Arabia, and Bahrain, Radius Star Piping ensures top-notch solutions for all your plastic pipe joining needs. With years of experience and a commitment to quality, we understand the importance of reliable, high-performance welding equipment for your projects.
What Are Butt Fusion Welding Machines and CNC Butt Welding Machines?
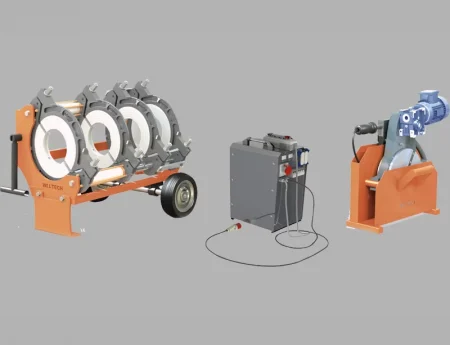
Butt Fusion Welding Machines are advanced tools designed for joining plastic pipes by heating and fusing their ends together, creating durable, leak-proof joints. These machines are essential in industries such as construction, water and gas distribution, and chemical processing, where high pressure and temperature resistance are crucial.
CNC Butt Welding Machines, on the other hand, offer automated control for enhanced precision and efficiency in the welding process. They are particularly useful for large-scale projects that require high levels of consistency and repeatability.
Our Range of Butt Fusion and CNC Butt Welding Machines
We offer a comprehensive selection of Butt Fusion Welding Machines and CNC Butt Welding Machines to meet the diverse needs of your projects in the UAE, Oman, Saudi Arabia, and Bahrain.
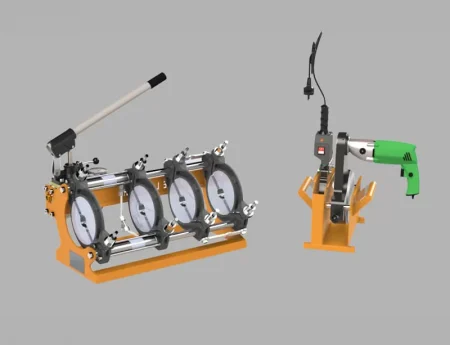
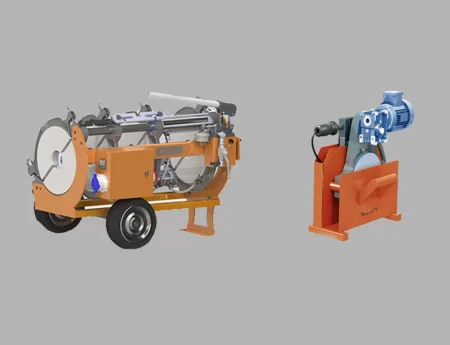
Hydraulic Butt Fusion Machines
Our Hydraulic Butt Fusion Machines are ideal for heavy-duty applications. These machines come with powerful hydraulic clamping systems and automatic control features, ensuring robust performance and superior welding results in demanding conditions.
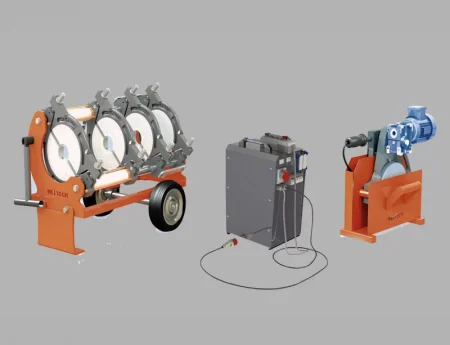
Manual Butt Fusion Machines
For smaller projects or tight spaces, our Manual Butt Fusion Machines provide portability and ease of use. Lightweight and compact, these machines are designed for on-site tasks, offering flexibility and simple operation without sacrificing quality.
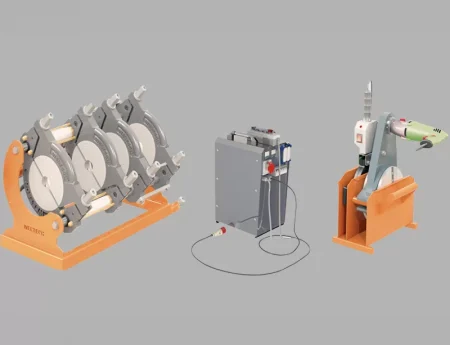
CNC Butt Welding Machines
For precision welding requirements, our CNC Butt Welding Machines combine advanced technology with automatic controls. These machines ensure highly accurate and consistent welds, perfect for large-scale, high-volume projects across industries in the UAE, Oman, Saudi Arabia, and Bahrain.
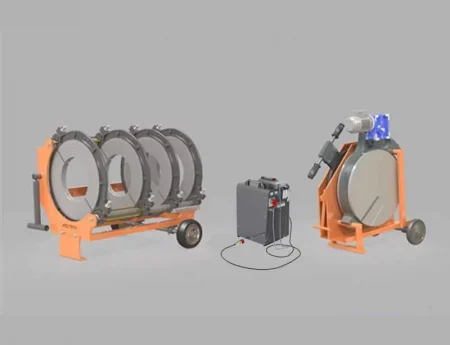
Plastic Pipe Station Welding Machines
Alongside our Butt Fusion Welding Machines, we offer complete Plastic Pipe Station Welding Machines. These stations include everything needed for efficient installation, such as pipe cutting and beveling tools, making your project execution seamless and efficient.
With our wide range of Butt Fusion Welding Machines and CNC Butt Welding Machines, we are your trusted partner in delivering reliable welding solutions for your plastic pipe systems.
Contact us today at +971 4 269 3863 or via email at info@radiusstarpiping.com to discuss your specific needs and find the perfect machine for your project. Let us help you ensure the highest quality welds every time!
Frequently Asked Questions (FAQs)
1. What is the difference between Butt Fusion Welding Machines and CNC Butt Welding Machines?
Butt Fusion Welding Machines use a manual or hydraulic system to join plastic pipes by melting and fusing their ends together, whereas CNC Butt Welding Machines provide automated control, offering higher precision and consistency for large-scale and high-volume projects. CNC machines are ideal for situations requiring repeatability and accuracy in the welding process.
2. In which industries are Butt Fusion Welding Machines typically used?
Butt Fusion Welding Machines are commonly used in industries like construction, water and gas distribution, chemical processing, and any field requiring durable, high-pressure, and temperature-resistant plastic pipe connections. These machines ensure long-lasting, leak-proof joints for critical applications.
3. Can I use Manual Butt Fusion Machines for large-scale projects?
While Manual Butt Fusion Machines are ideal for smaller projects or tight spaces, they may not be suitable for large-scale applications due to their limited power and automation. For large projects, it is recommended to use Hydraulic Butt Fusion Machines or CNC Butt Welding Machines, which are designed for more demanding and high-volume tasks.
4. How do I choose the right Butt Fusion Welding Machine for my project?
The choice of machine depends on factors such as project size, pipe diameter, material, and the level of automation required. For small to medium projects, Manual Butt Fusion Machines are suitable, while Hydraulic Butt Fusion Machines and CNC Butt Welding Machines are better for large-scale and complex tasks. Our team can guide you in selecting the perfect machine based on your specific needs.
5. Do you offer training and support for using the welding machines?
Yes, we offer comprehensive training and support for all of our Butt Fusion Welding Machines and CNC Butt Welding Machines. Our team ensures that your operators are well-trained to use the machines effectively and safely. We also provide after-sales support to ensure the continued performance and maintenance of your equipment.

